Failure to waterproof a bathroom can lead to a host of problems, such as mold growth, structural damage, and even health hazards. Water can see through tiles and grout, penetrate walls and floors, and cause wood to rot, leading to costly repairs and potential safety hazards. In addition, moisture can create an ideal environment for mold and mildew to flourish, which can compromise indoor air quality and cause respiratory issues. Proper bathroom waterproofing involves using the right materials and techniques. The edges are seeded.
To begin waterproofing your bathroom or ensuite, it is essential to properly prepare the surface by using a grindstone to remove any loose grains from the cement bedding around the perimeter and main body. Next, using a bucket of water and a sponge, wipe down all the walls to ensure a clean surface for the waterproofing to adhere effectively. Failure to clean the walls properly will result in the waterproofing adhering to dust and debris, which will cause it to peel off easily after it dries. Additionally, it is crucial to vacuum The entire floor, paying particular attention to all internal corners, to ensure a clean and smooth surface for waterproofing application.

Cold joints refer to the bonding of old concrete to new concrete. In the case of a slab and wall joint, this area is particularly susceptible to water penetration, as it represents a cold joint where water can seep in. Often, the cause of the The cold joint is due to the slab being poured before the wall, which creates a vulnerable point where water can penetrate.
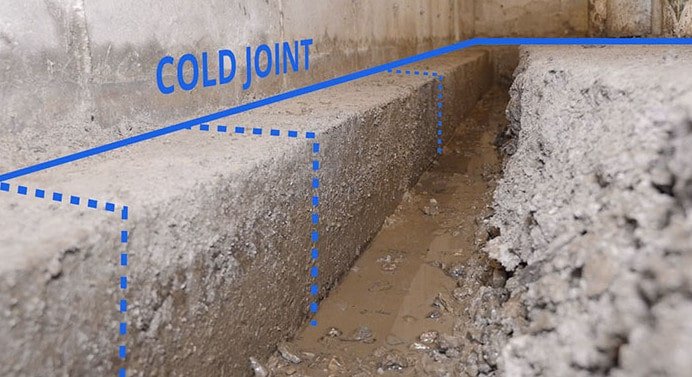
Additionally, in this area, it is essential to monitor potential leaks from PVC pipes, as concrete will not bond to the PVC material To mitigate the risk of water penetration in cold joints, the first step is to plug them using a cementitious plug or leak plug. The latter is a cementitious mortar with 5000 PSI of compressive strength, which offers good adhesive properties and can withstand the movements associated with shower areas, bathrooms, or slabs. We highly recommend using Leak Plug for plugging these joints, as it is capable of bonding old to new concrete or cold joints.

Sealing the PVC pipe in a bathroom is essential during waterproofing to prevent water from penetrating through the gaps between the PVC pipe and the surrounding wall or floor.
However, it is important to note that Leak Plug cannot seal PVC pipes, as it is a cementitious material and will not adhere to this surface. To address this issue, we recommend using a product called Silicone Sealant that can adhere to both PVC pipe and concrete to ensure effective sealing.

You can easily buy the right Silicone Sealant down below:

Silicone Sealant can adhere to both PVC pipe and concrete to ensure effective sealing.
For a precise and straight bathroom waterproofing application, it is recommended to apply masking tape along the edges, similar to the application process used when painting. This will help to ensure that the waterproofing is applied in a straight line and prevent any unevenness or w avy lines. By taking this extra step, you can achieve a professional-quality finish.
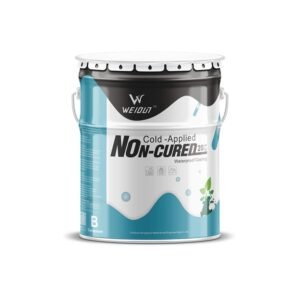
The W009 cementitious polymer waterproof coating is a highly effective solution for all types of indoor waterproofing projects. To use this product, mix the liquid and powder components at a ratio of 1:1.4 and stir thoroughly with an electric stirring rod.
If you are not familiar with the application process. we recommend viewing the instructional video provided below:
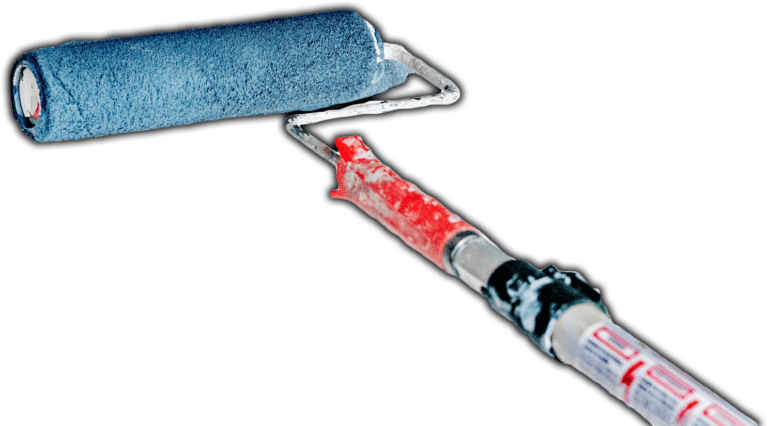
Apply the first coat by a brush or a roller. After first coat, wait 24 hours until it gets dry. Then apply second coat, which should be applied in a different direction to the first (ie diagonally). thickness of coat is 1.2mm .consumption rate for one square meter is 2kg.

You can easily buy the right Cementitious Waterproofing Coating down below:

The W009 cementitious polymer waterproof coating is a highly effective solution for all types of indoor waterproofing projects.
After the coat is totally dry. You will need to have a flood test to find if there is a leaking issue. Flood test can be one inch or two inches depend on your specific situation. Once you see that water level went down then the waterproofing has a problem.

Note: Do NOT tile until the floor get fully cure. Depending on the climate, it takes up to 5 days.
Apply the first coat by a brush or a roller. After first coat, wait 24 hours until it gets dry. Then apply second coat, which should be applied in a different direction to the first (ie diagonally). thickness of coat is 1.2mm .consumption rate for one square meter is 2kg.
You can easily buy the right Cementitious Waterproofing Coating down below:
This waterproof membrane can secure your roof from many things just like water getting in your roof and making your walls bad and weak and many more things.
After the coat is totally dry. You will need to have a flood test to find if there is a leaking issue. Flood test can be one inch or two inches depend on your specific situation. Once you see that water level went down then the waterproofing has a problem.
Note: Do NOT tile until the floor get fully cure. Depending on the climate, it takes up to 5 days.


